Adobe Premiere Pro is a powerful, industry-standard video editing software that allows users to create professional-quality videos for a variety of purposes, including films, advertisements, and social media content, and Adobe Premiere Pro for Beginners is perfect. In this introductory guide, we’ll cover the basics of using Premiere Pro and help you start editing your own videos with confidence. By the end of this guide, you’ll have a solid understanding of the Premiere Pro interface, essential tools and features, and a basic video editing workflow.
Understanding the Premiere Pro Interface
The Workspace
When you first open Premiere Pro, you’ll be greeted with the default workspace, which is divided into several panels. Each panel serves a specific purpose in the video editing process.
- Project Panel: This is where you’ll import and organize your media files, including video clips, audio files, and graphics.
- Source Monitor: This panel allows you to preview individual clips before adding them to your timeline.
- Program Monitor: This is where you can preview your edited sequence as you work on it.
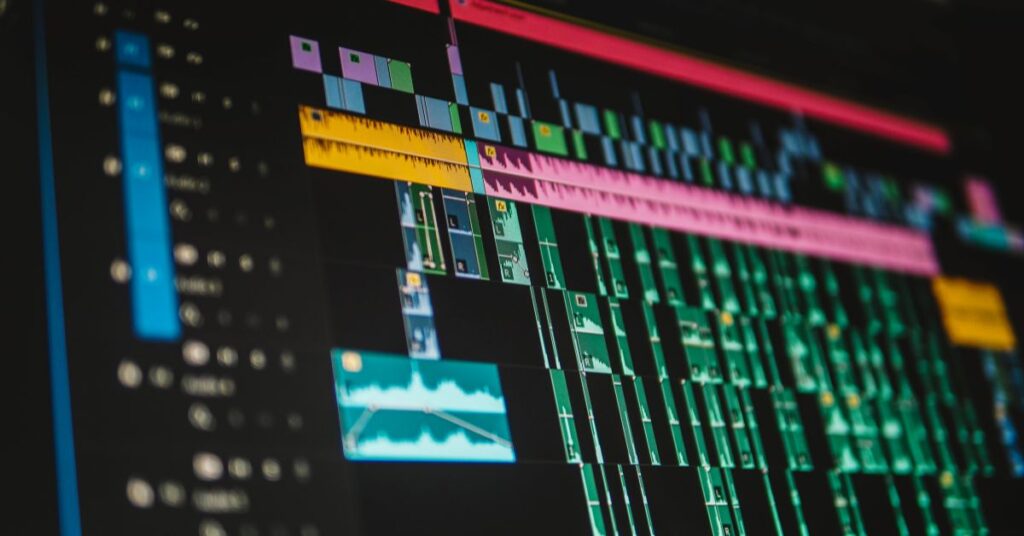
- Timeline Panel: This is where you’ll assemble your video by arranging clips, adding transitions, and applying effects.
- Tools Panel: This contains essential editing tools, such as the Selection Tool, Ripple Edit Tool, and Razor Tool.
- Effects Panel: Here, you’ll find a wide range of video and audio effects, as well as transitions that can be applied to your clips.
Customizing Your Workspace
Premiere Pro allows you to customize your workspace to suit your preferences. You can rearrange, resize, or close panels by clicking and dragging on their edges or tabs. You can also save custom workspaces for different tasks, such as editing, color grading, or audio mixing.
Importing and Organizing Media
Before you can begin editing, you’ll need to import your media files into the Project Panel. To do this, you can either click the “Import” button in the Project Panel, or use the File > Import menu command. You can also drag and drop files from your computer directly into the Project Panel.
Organizing Your Assets
Once you’ve imported your media, it’s essential to keep your files organized to streamline your editing process. You can create bins (folders) within the Project Panel to group related assets, such as video clips, audio files, and graphics. To create a new bin, click the “New Bin” button at the bottom of the Project Panel, or right-click within the panel and choose “New Bin” from the context menu.
Basic Editing Techniques
With your media imported and organized, you can now start assembling your video in the Timeline Panel.
Creating a New Sequence
A sequence is a container for your edited video. To create a new sequence, go to File > New > Sequence or right-click within the Project Panel and choose “New Sequence” from the context menu. You’ll be presented with a variety of preset sequence settings to match your footage, or you can customize the settings manually.
Adding Clips to Your Timeline
To add a clip to your timeline, simply drag it from the Project Panel or Source Monitor and drop it onto the timeline. You can use the Source Monitor to set In and Out points for your clips before adding them to your timeline, ensuring you only include the parts of the clip you want.
Basic Editing Tools
There are several essential editing tools in Premiere Pro that you should become familiar with:
- Selection Tool (V): This is the default tool, used for selecting and moving clips on the timeline. 2. Razor Tool (C): This tool allows you to split clips at specific points, making it easy to trim or remove unwanted portions.
- Ripple Edit Tool (B): This tool adjusts the In or Out point of a clip while automatically shifting adjacent clips to maintain the sequence’s continuity.
- Rolling Edit Tool (N): With this tool, you can adjust the edit point between two clips, effectively changing the duration of both clips simultaneously without affecting the overall sequence length.
- Slip Tool (Y): This tool changes the In and Out points of a clip while keeping its position and duration in the timeline unchanged.
- Slide Tool (U): This tool moves a clip left or right along the timeline, adjusting the adjacent clips’ In and Out points to accommodate the change.
Adding Transitions and Effects
To enhance your video, you can use transitions and effects, which can be found in the Effects Panel.
Applying Transitions
Transitions smooth the change between two clips. To apply a transition, locate the desired transition in the Effects Panel (under “Video Transitions”) and drag it to the edit point between two clips on your timeline. Common transitions include Cross Dissolve, Dip to Black, and Wipe.
Adding Video and Audio Effects
Premiere Pro offers a wide range of video and audio effects to enhance your clips. To apply an effect, locate it in the Effects Panel (under “Video Effects” or “Audio Effects”) and drag it onto the desired clip in the timeline. You can adjust the effect settings in the Effect Controls Panel, which appears when you select a clip with an effect applied.
Basic Audio Editing
Good audio is essential for a professional-quality video. Premiere Pro provides several tools for adjusting audio levels and improving audio quality.
Adjusting Audio Levels
You can adjust the audio levels of individual clips in the timeline by dragging the audio level line up or down. To adjust the audio levels for the entire sequence, use the Audio Track Mixer panel.
Audio Effects and Noise Reduction
Premiere Pro includes a variety of audio effects to help you improve the sound quality of your video. Common audio effects include EQ, Dynamics, and Noise Reduction. To apply an audio effect, locate it in the Effects Panel (under “Audio Effects”) and drag it onto the desired audio clip in the timeline. You can adjust the effect settings in the Effect Controls Panel.
Exporting Your Video
Once you’ve completed your edit, you’ll need to export your video so it can be shared or uploaded to various platforms.
Using Adobe Media Encoder
Adobe Media Encoder is a separate application that comes with Premiere Pro and is used to export your videos in various formats. To export your video, go to File > Export > Media, which will open the Export Settings dialog. Here, you can choose the desired format and settings for your video. Click the “Queue” button to add your video to the Adobe Media Encoder queue, and then click the green “Start Queue” button to begin exporting.
Choosing the Right Format and Settings
The optimal format and settings for your video will depend on its intended use. Common formats include H.264 (for web and social media) and ProRes (for high-quality, professional work). Be sure to choose a resolution, frame rate, and bitrate that are appropriate for your video’s purpose and target audience.
By mastering the basics of Adobe Premiere Pro, you’re now equipped to create professional-quality videos for a variety of purposes. With practice and experimentation, you’ll continue to develop your skills and discover new ways to enhance your projects. Remember, the key to becoming proficient in Premiere Pro is to explore its features, learn from others, and constantly refine your techniques. With time and dedication, you’ll be well on your way to becoming an expert video editor, ready to tackle any project that comes your way. So, dive in, start creating, and enjoy the limitless possibilities that Adobe Premiere Pro offers to bring your stories to life.
Q1: What are the system requirements for running Adobe Premiere Pro?
A1: Adobe Premiere Pro requires a fairly powerful computer to run smoothly. The minimum system requirements include a multicore processor with 64-bit support, 8 GB of RAM, and a compatible GPU. However, for optimal performance, it’s recommended to have at least 16 GB of RAM and a dedicated GPU. For a full list of system requirements, visit Adobe’s official page: Adobe Premiere Pro System Requirements
Q2: How can I improve the performance of Premiere Pro on my computer?
A2: To optimize the performance of Premiere Pro, you can try the following:
- Ensure your computer meets the minimum system requirements.
- Keep your software, drivers, and operating system up to date.
- Adjust playback resolution in the Program Monitor to a lower setting (e.g., 1/2 or 1/4).
- Use proxies for large or high-resolution video files.
- Close unnecessary applications running in the background.
For more performance tips, check out this article: Improve performance in Premiere Pro
Q3: What is the difference between Premiere Pro and Premiere Rush?
A3: Premiere Pro is a professional-grade video editing software with advanced features and capabilities, whereas Premiere Rush is a more streamlined and user-friendly application designed for quick and simple video editing on-the-go. Premiere Rush is ideal for beginners and casual users who want to create videos quickly, while Premiere Pro caters to professionals who require more advanced tools and features.
For more information on the differences, refer to this comparison: Premiere Pro vs. Premiere Rush
Q4: Can I collaborate with others on a Premiere Pro project?
A4: Yes, Premiere Pro offers a feature called “Team Projects” which allows multiple users to collaborate on a project simultaneously. This feature requires an Adobe Creative Cloud for teams or enterprise subscription. Team Projects allows editors to work together in real-time, share assets, and access version history.
To learn more about Team Projects, visit this official Adobe page: Collaborate using Team Projects
Q5: How do I properly back up and archive my Premiere Pro projects?
A5: To back up and archive your Premiere Pro projects, follow these steps:
- Save your project regularly using File > Save or File > Save As to create multiple versions.
- Use the Project Manager (File > Project Manager) to consolidate your project and collect all associated media files in one location.
- Copy your project folder, including all associated media and assets, to an external hard drive or cloud storage service.
For more detailed information on backing up and archiving your projects, refer to this article: Archiving projects in Premiere Pro
